Use the Delayed Message feature to leave a note, photo, video or audio recording for someone before venturing into a potentially dangerous area. Set a timer for when you expect to safely return from your activity. If you don't cancel the delayed message before the timer goes off, your message will be sent.
Note: The message will send even if your device loses its connection to the Internet. When you first activate a delayed message, a copy is immediately sent to the iMemorized server. The server is responsible for transmitting the message from that point, but you can cancel it from the app at any time.
iOS Mobile App Delayed Message
|
Cancel a delayed message at any time by editing it from the Delayed Message screen.

Press the red Delayed Message button at bottom of the main menu to get started.


Select Delayed Message from the main menu
Tapping on the notepad icon opens a new text-based delayed message

Use the onscreen keyboard to type your message to be received in the event that something should happen to you

After saving your message you're now ready to set the timer and message recipient
Pressing the notepad icon in the bottom right area of the screen opens a new text-based delayed message. Type your message using the onscreen keyboard and then press the Save button. Remember that the recipient will receive this message only if you fail to stop it from being sent, so it could mean that you encountered some trouble. You should indicate where you were and what you were doing in your message.
Press the 'Add Recipient' button to select a contact from the contacts list on your mobile device. An email address must be defined for your contact in order to use them as a delayed message recipient.


Be sure to allow the app access to your contacts list
Select a contact to be your message recipient by tapping their email address from the contact details screen
Press the clock icon in the bottom area of the screen to set a timer for your delayed message. Once the timer elapses, your message is sent (unless cancelled beforehand). Give yourself a reasonable amount of time to complete your activity.
Swipe up and down to set the amount of time you would like to give the countdown timer


With the timer and message recipient set, the message is ready to be sent to the iMemorized server and activated
Press the envelope icon in the bottom right area of the screen to send a copy of your message to the iMemorized server and activate the countdown timer.
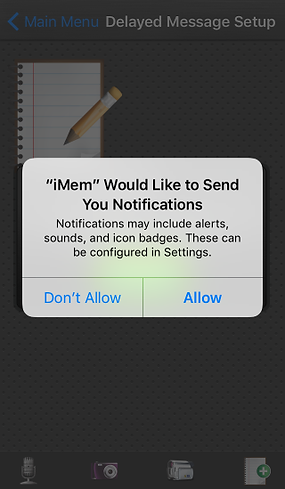
The app will notify you once your message is active and whenever a countdown timer has elapsed

You'll be notified once your delayed message have been activated


Press the envelope icon in the bottom right area of the screen to send a copy of your message to the iMemorized server and activate the countdown timer.
The countdown timer value is displayed underneath the delayed message
The Delayed Message button on the main menu is used to indicate when the next delayed message will be sent
You can also see when your next delayed message will be sent on the startup screen

Press the envelope icon in the bottom right area of the screen to cancel the delayed message
You will receive a notification about your message having been cancelled
Delete a delayed message by tapping the red circle in the bottom left area of the screen.